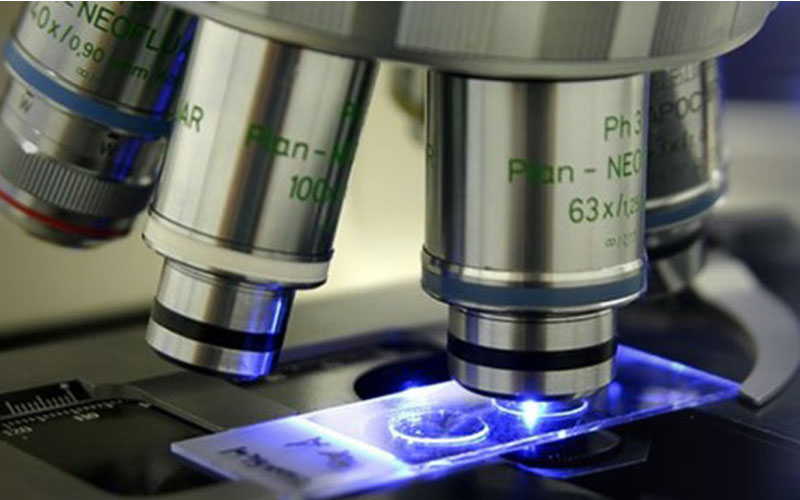
Detect Grain-Boundary Oxygen Damage Accredited, Defensible, and Delivered Fast

Intergranular oxidation (IGO) forms oxygen-rich penetration along grain boundaries during elevated-temperature exposure or suboptimal heat-treat atmospheres, degrading fatigue, creep, and crack-initiation resistance. AADFW quantifies IGO depth and severity with ISO/IEC 17025–accredited metallography intergranular oxidation testing, calibrated imaging, and rapid reporting, so qualification and MRB decisions stay on schedule.
Request a Quote Talk to a Testing Specialist : 817-540-0153
Why Intergranular Oxidation Testing Matters
In Ni-base superalloys, stainless steels, low-alloy steels, and Ti alloys near hot gas paths, IGO creates embrittled boundary networks that:
- Accelerate fatigue crack initiation at edges, holes, and coating interfaces.
- Reduce creep/rupture margins and weld HAZ durability.
- Compromise bond-coat/adherent coating performance and repairability.
Quantifying IGO depth (max/average) and affected-zone width verifies heat-treat atmosphere quality, validates stock-removal allowances, and supports OEM/FAA expectations for hot-section hardware and high-temperature service parts.
AADFW’s Approach: Precision, Speed, and Proof
- Accredited & precise: Metallography performed under ISO/IEC 17025 with disciplined prep, calibrated optics, and documented measurement procedures.
- Faster results: Alloy-specific prep/etch routes and decision-ready photo plates compress lead times without sacrificing rigor.
- Trusted by engineers: Clear acceptance call-outs tied to your print/spec, location maps, and expert mechanism narratives that stand up to audits.
Intergranular Oxidation Service Capabilities
- Targeted Sectioning & Mounting
Non-thermal sectioning at edges, cooling holes, coating interfaces, weld toes/HAZ, grain-flow breaks, and specified orientations (L/T/S). Orientation marks ensure repeatable fields.
- Artifact-Free Preparation & Micro-Etching
Grinding/polishing per ASTM E3; alloy-appropriate etchants per ASTM E407 to reveal boundary penetration and differentiate oxide, internal oxidation, and depletion zones.
- Ni-base/Co-base: Glyceregia/Vilella variants to delineate IGO and γ/γ′ changes.
- Stainless steels: Oxalic screen (structure only) plus glyceregia for carbides/σ; used to separate sensitization from true IGO.
- Steels/Ti (as specified): Etches tuned to expose boundary oxygen ingress or alpha-case adjacency.
- Depth & Affected-Zone Measurement
Quantify IGO depth (max/avg) from surface to unaffected matrix; measure depleted/intergranularly attacked zone width with calibrated scale bars and overlays. Optional field counts (N) and statistics per drawing.
- Microhardness & Gradient Mapping (as required)
Vickers/Knoop traverses (ASTM E384 / E92) across the IGO layer and substrate to document embrittlement gradients and confirm removal allowances.
- Coating & Repair Interface Studies
Cross-sections through bond-coats, aluminides, and overlay coatings to evaluate IGO at the coating/substrate line and its impact on adhesion or refurbishment stock removal.
- Reporting & Traceability (Audit-Ready)
Photo plates with etchant/time & magnification, location maps, measurement tables (max/avg depths), hardness profiles, acceptance summary (go/no-go), and instrument/calibration references tied to heat/lot and PO.
Industries We Support
- Aerospace: Coated airfoils, combustor/duct hardware, and welded CRAs, aligned to OEM/FAA expectations.
- Oil & Gas: High-temperature valves, turbines, furnaces/CRAs, and weld overlays where oxidizing environments and thermal cycling drive IGO risk.
- Defense & Advanced Manufacturing: Mission-critical hot-zone parts (including AM builds) requiring verified surface integrity and removal allowances.
Trusted by engineers and QC managers across mission-critical industries.
Accreditations & Standards Compliance
AADFW operates to ISO/IEC 17025 and supports Nadcap-driven program requirements. We execute metallography to methods on our accredited scope and applicable specifications, including:
- ASTM E3 (metallographic specimen preparation)
- ASTM E407 (micro-etching)
- ASTM E384 / E92 (microhardness for gradient profiling)
- ASTM E112 (grain size, when corroboration is requested)
- Optional corrosion corroboration (when specified): ASTM A262 practices for stainless or ASTM G28 for Ni-base—reported alongside IGO microstructure
- OEM/AMS/customer criteria for IGO/stock-removal—matched exactly when cited in purchase documents
Why Engineers Choose AADFW
- Accredited & audit-ready IGO evaluations with calibrated imaging and defensible measurements.
- Faster turnaround that keeps hot-section qualifications and MRB gates on schedule.
- Trusted partner to aerospace and oil & gas QA teams.
- Expert metallurgists who turn micrographs and maps into clear go/no-go decisions and actionable process or removal guidance.
Request a Quote for Intergranular Oxidation Testing
Protect fatigue life and hot-zone reliability with verified IGO depth and severity. Request a Quote to schedule IGO metallography today.
