Verify Surface Carbon Condition Accredited Results at Production Speed

Carburization/decarburization metallography reveals carbon enrichment or depletion at the surface of steels and alloy steels, conditions that drive hardness, wear, crack initiation, and fatigue life. AADFW delivers ISO/IEC 17025–accredited carburization / decarburization testing evaluations with disciplined prep, quantified measurements, and faster turnaround than big-box labs—so your qualification and lot release stay on schedule.
Request a Quote Talk to a Testing Specialist : 817-540-0153
Why Carburization / Decarburization Testing Matters
Surface carbon condition directly affects case hardness, thread-root integrity, coating performance, and sealing surfaces.
- Carburization (intentional case hardening or accidental carbon consealment) must meet effective case depth and profile requirements for wear and load capacity.
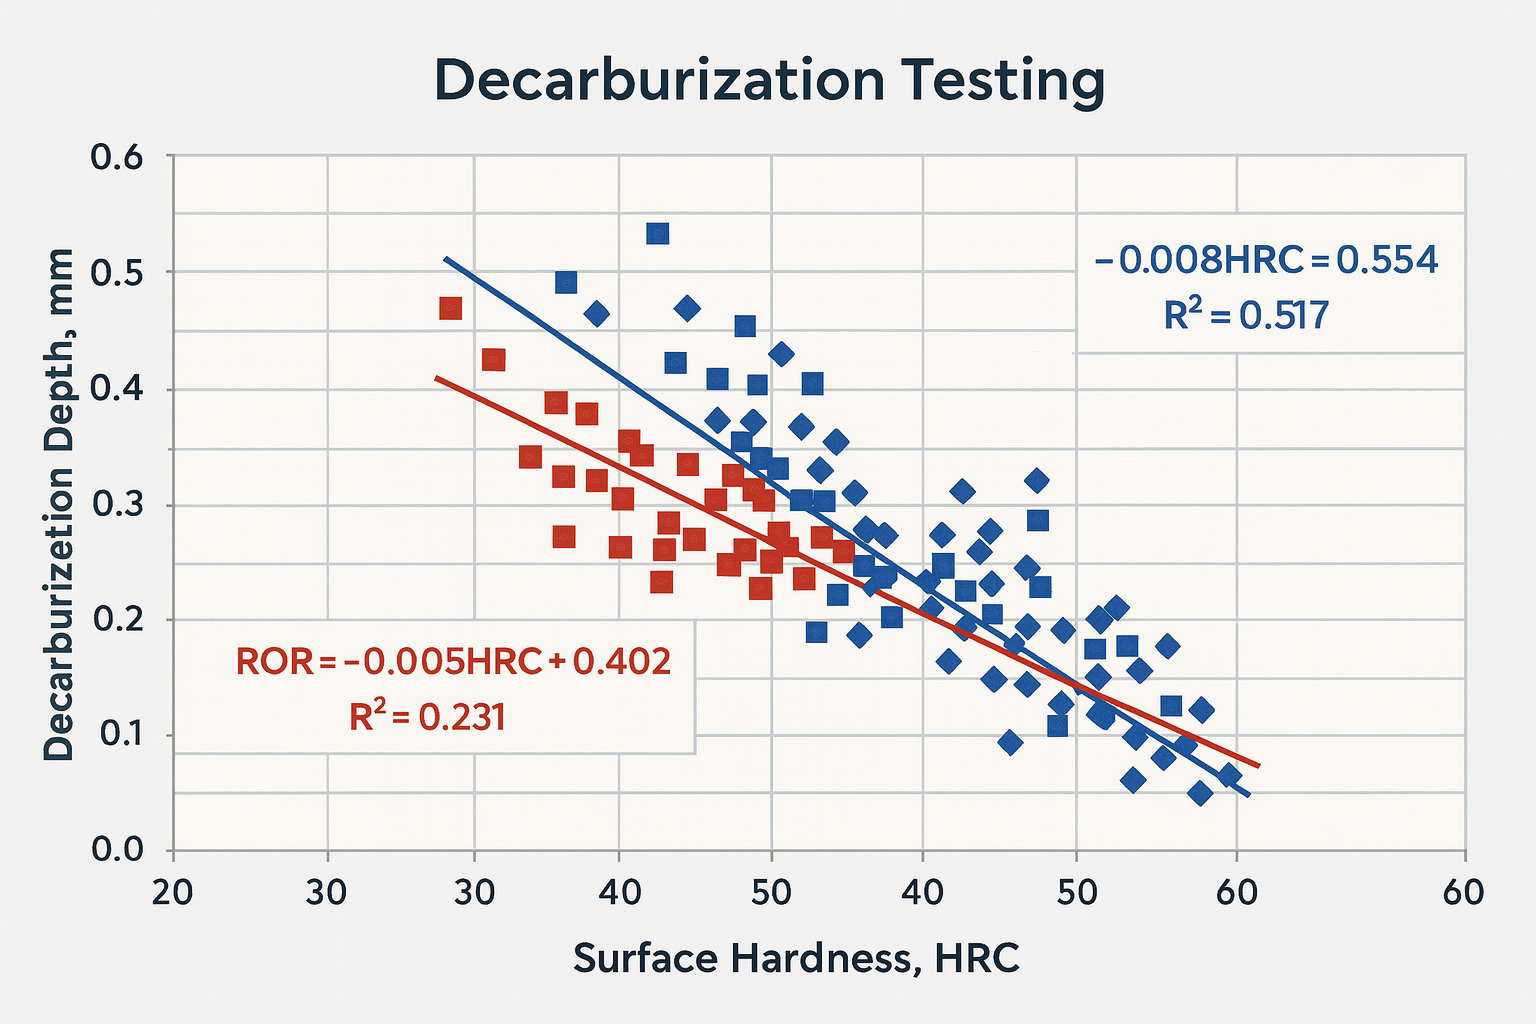
- Decarburization reduces surface hardness and yield strength, creating fatigue initiation sites, especially at threads, edges, and bearing lands.
Accurate metallography confirms heat-treat effectiveness, verifies stock-removal allowances, and prevents in-service failures while supporting MRB decisions and OEM/FAA audits.
AADFW’s Approach: Precision, Speed, and Proof
- Accredited & precise: Work executed under ISO/IEC 17025 using controlled preparation, calibrated optics, and documented measurement procedures.
- Faster results: Alloy-specific prep/etch routes and decision-ready photo plates compress lead times without compromising rigor.
- Trusted by industry: Clear acceptance callouts, location maps, and metallurgical interpretation that withstand audits for aerospace and oil & gas programs.
Service Capabilities
- Targeted Sampling & Sectioning
Non-thermal sectioning at highest-risk locations (first engaged thread, fillets, edges, bearing surfaces) to preserve near-surface structure.
- Metallographic Preparation & Micro-Etching
Preparation per ASTM E3 with etchants per ASTM E407 to delineate carbon gradients, carbide morphology, and prior-austenite features when required.
- Decarburization Evaluation
Optical delineation of complete/partial decarb zones with depth measurements; confirmation by microhardness traverses across the affected layer.
- Carburized Case Evaluation
Effective case depth determination using Vickers/Knoop microhardness profiles; verification of surface hardness and core hardness correlation to drawing/spec limits.
- Microhardness Profiling
Vickers/Knoop traverses per ASTM E384 / E92; plotted hardness vs. depth at specified intervals with effective case depth and transition points called out.
- Thread-Root & Feature-Specific Studies
Polished cross-sections at the first full thread and critical edges to quantify decarb/overcarb at stress concentrators.
- Optional Corroboration
Chemical analysis (OES, C/S) for grade verification and carbon baseline; SEM/EDS for surface scale/inclusion identification.
- Reporting & Traceability
Photo plates with calibrated scales, etchant/time, hardness plots, measurement tables (avg./max.), acceptance summary (go/no-go), and full chain of custody—audit-ready.
Industries We Support
- Aerospace: Landing gear, actuators, fasteners, gears, and structural hardware—case integrity and thread-root conformance under OEM/FAA expectations.
- Oil & Gas: Pressure-boundary bolting, valve components, and wear surfaces where case depth and decarb control govern clamp load and fatigue life.
- Defense & Advanced Manufacturing: Mission-critical parts (including AM base materials) requiring repeatable surface properties and documentation.
Trusted by engineers and QC managers across mission-critical industries.
Accreditations & Standards Compliance
AADFW operates to ISO/IEC 17025 and supports Nadcap-driven program requirements, executing metallography to the methods on our scope and customer specifications, including:
- ASTM E3 (metallographic specimen preparation)
- ASTM E407 (micro-etching)
- ASTM E1077 (decarburization measurement, often with microhardness confirmation)
- ASTM E384 / E92 (microhardness for case depth and gradients)
- ASTM E112 (grain size, when required)
- Fastener-specific references as specified by purchase docs (e.g., ASTM F2328 decarburization in carbon/alloy steel fasteners; SAE J419)
- Applicable AMS/OEM procedures for case depth/transition criteria
Why Engineers Choose AADFW
- Accredited & audit-ready metallography with quantified, defensible measurements.
- Faster turnaround that keeps qualification and production gates on schedule.
- Trusted partner to aerospace and oil & gas QA organizations.
- Expert metallurgists who turn micrographs and hardness data into clear go/no-go decisions and actionable process guidance.
Request a Quote for Carburization / Decarburization Metallography Testing
Protect fatigue life and surface performance with verified carbon profiles. Request a Quote to schedule carburization/decarburization evaluation today.
